Google Pay
Google Pay™ allows customers to pay using their credit and debit cards stored inside their Google Account. This article describes how you can accept Google Pay payments using Paymentwall. Paymentwall supports payments with Google Pay without any additional integration effort. You can use Google Pay as an option within your credit card form powered by Paymentwall. To start using Google Pay, simply activate it following the steps below.
Activate Google Pay from the Merchant Area
- Log into your Paymentwall account and go to “Payment systems” section in “My Projects”.
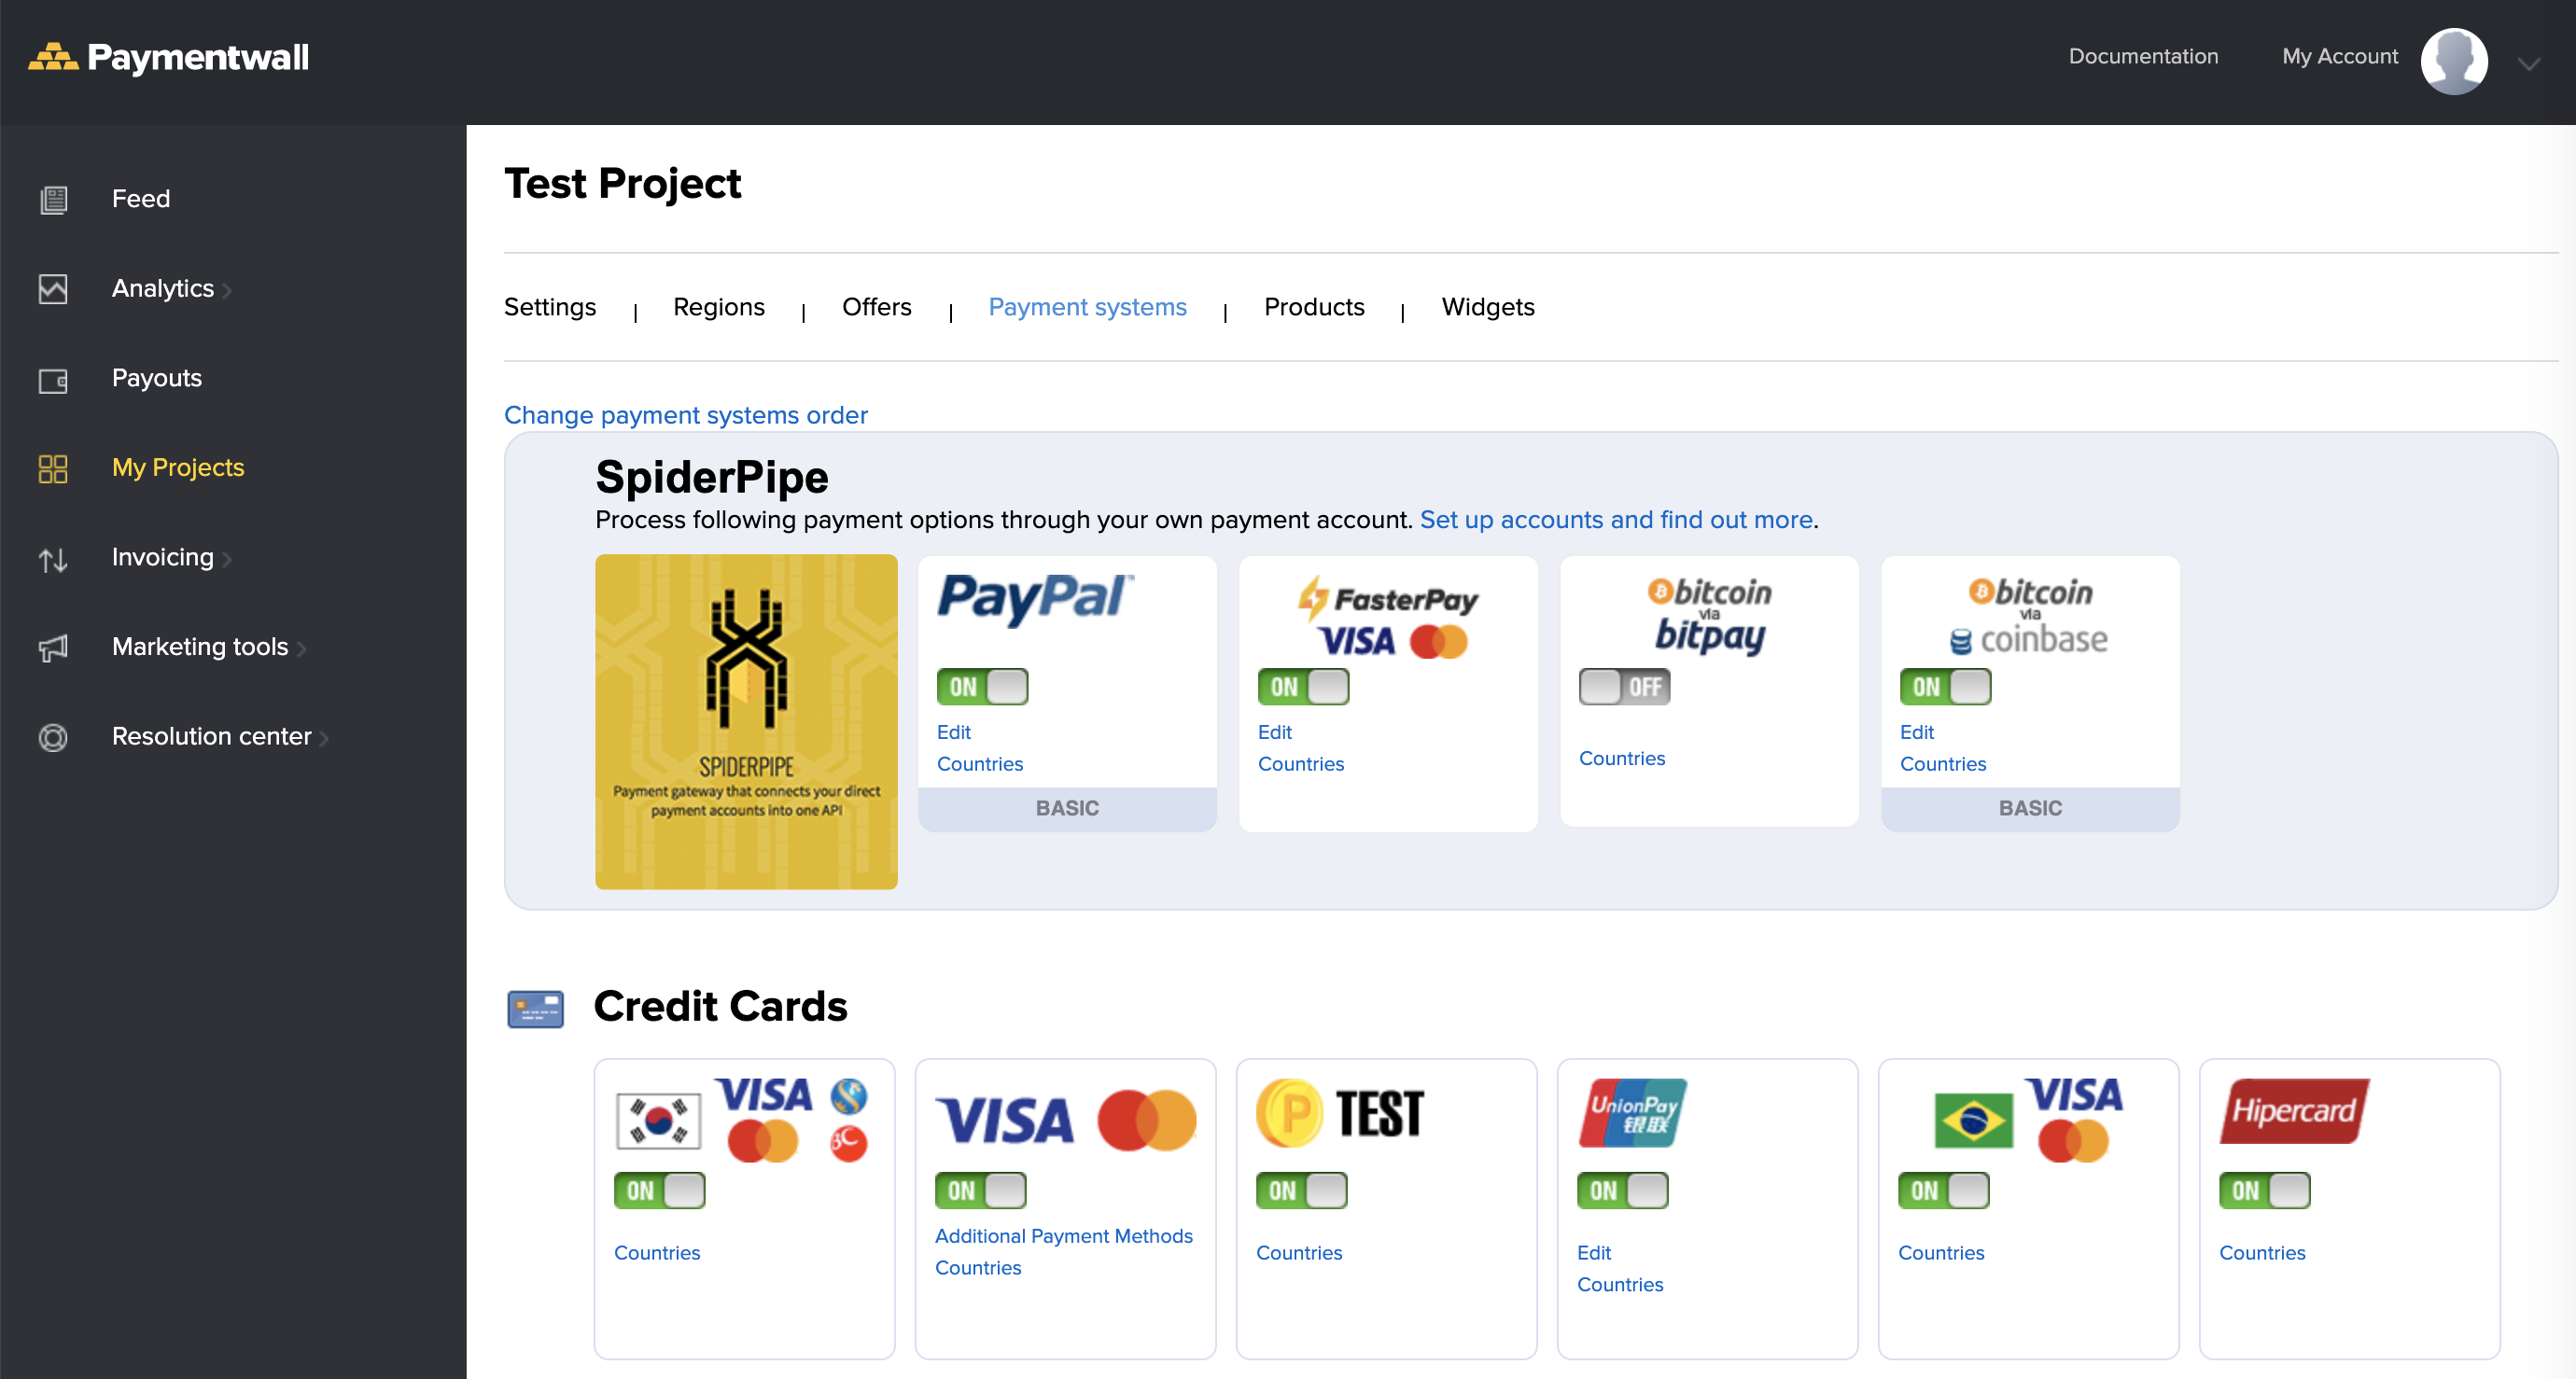
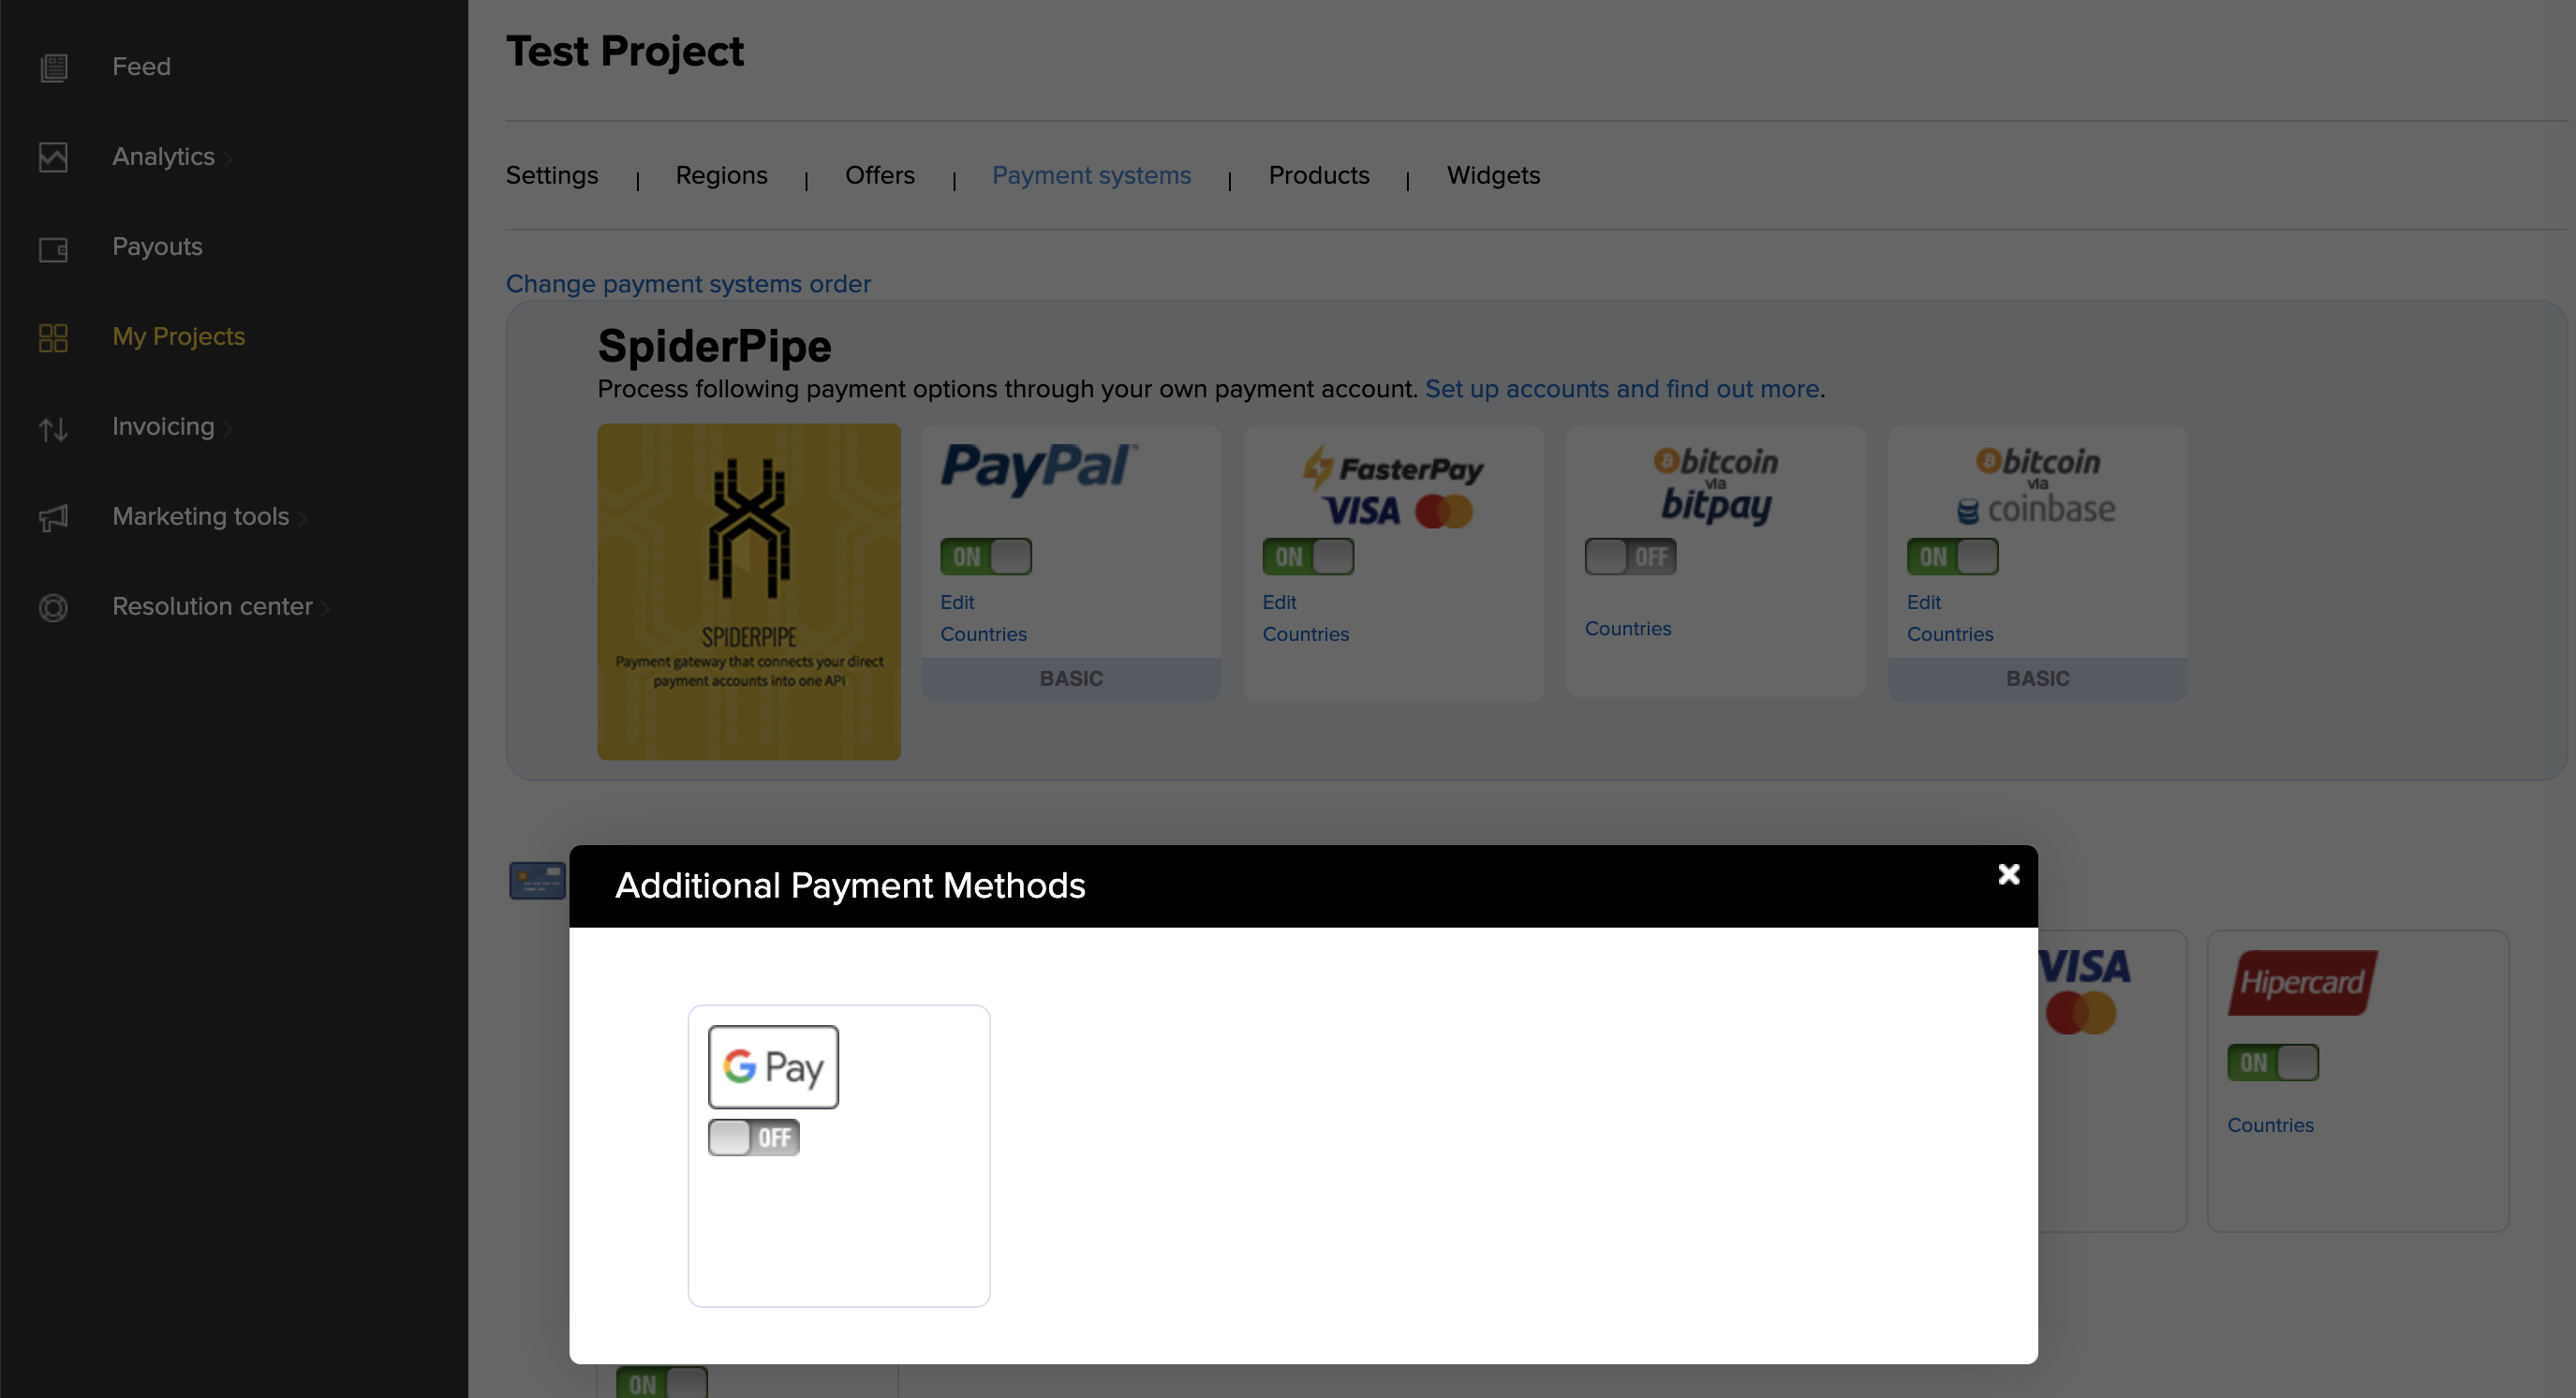
- Select “Additional Payment Methods” under “Credit Cards” section.
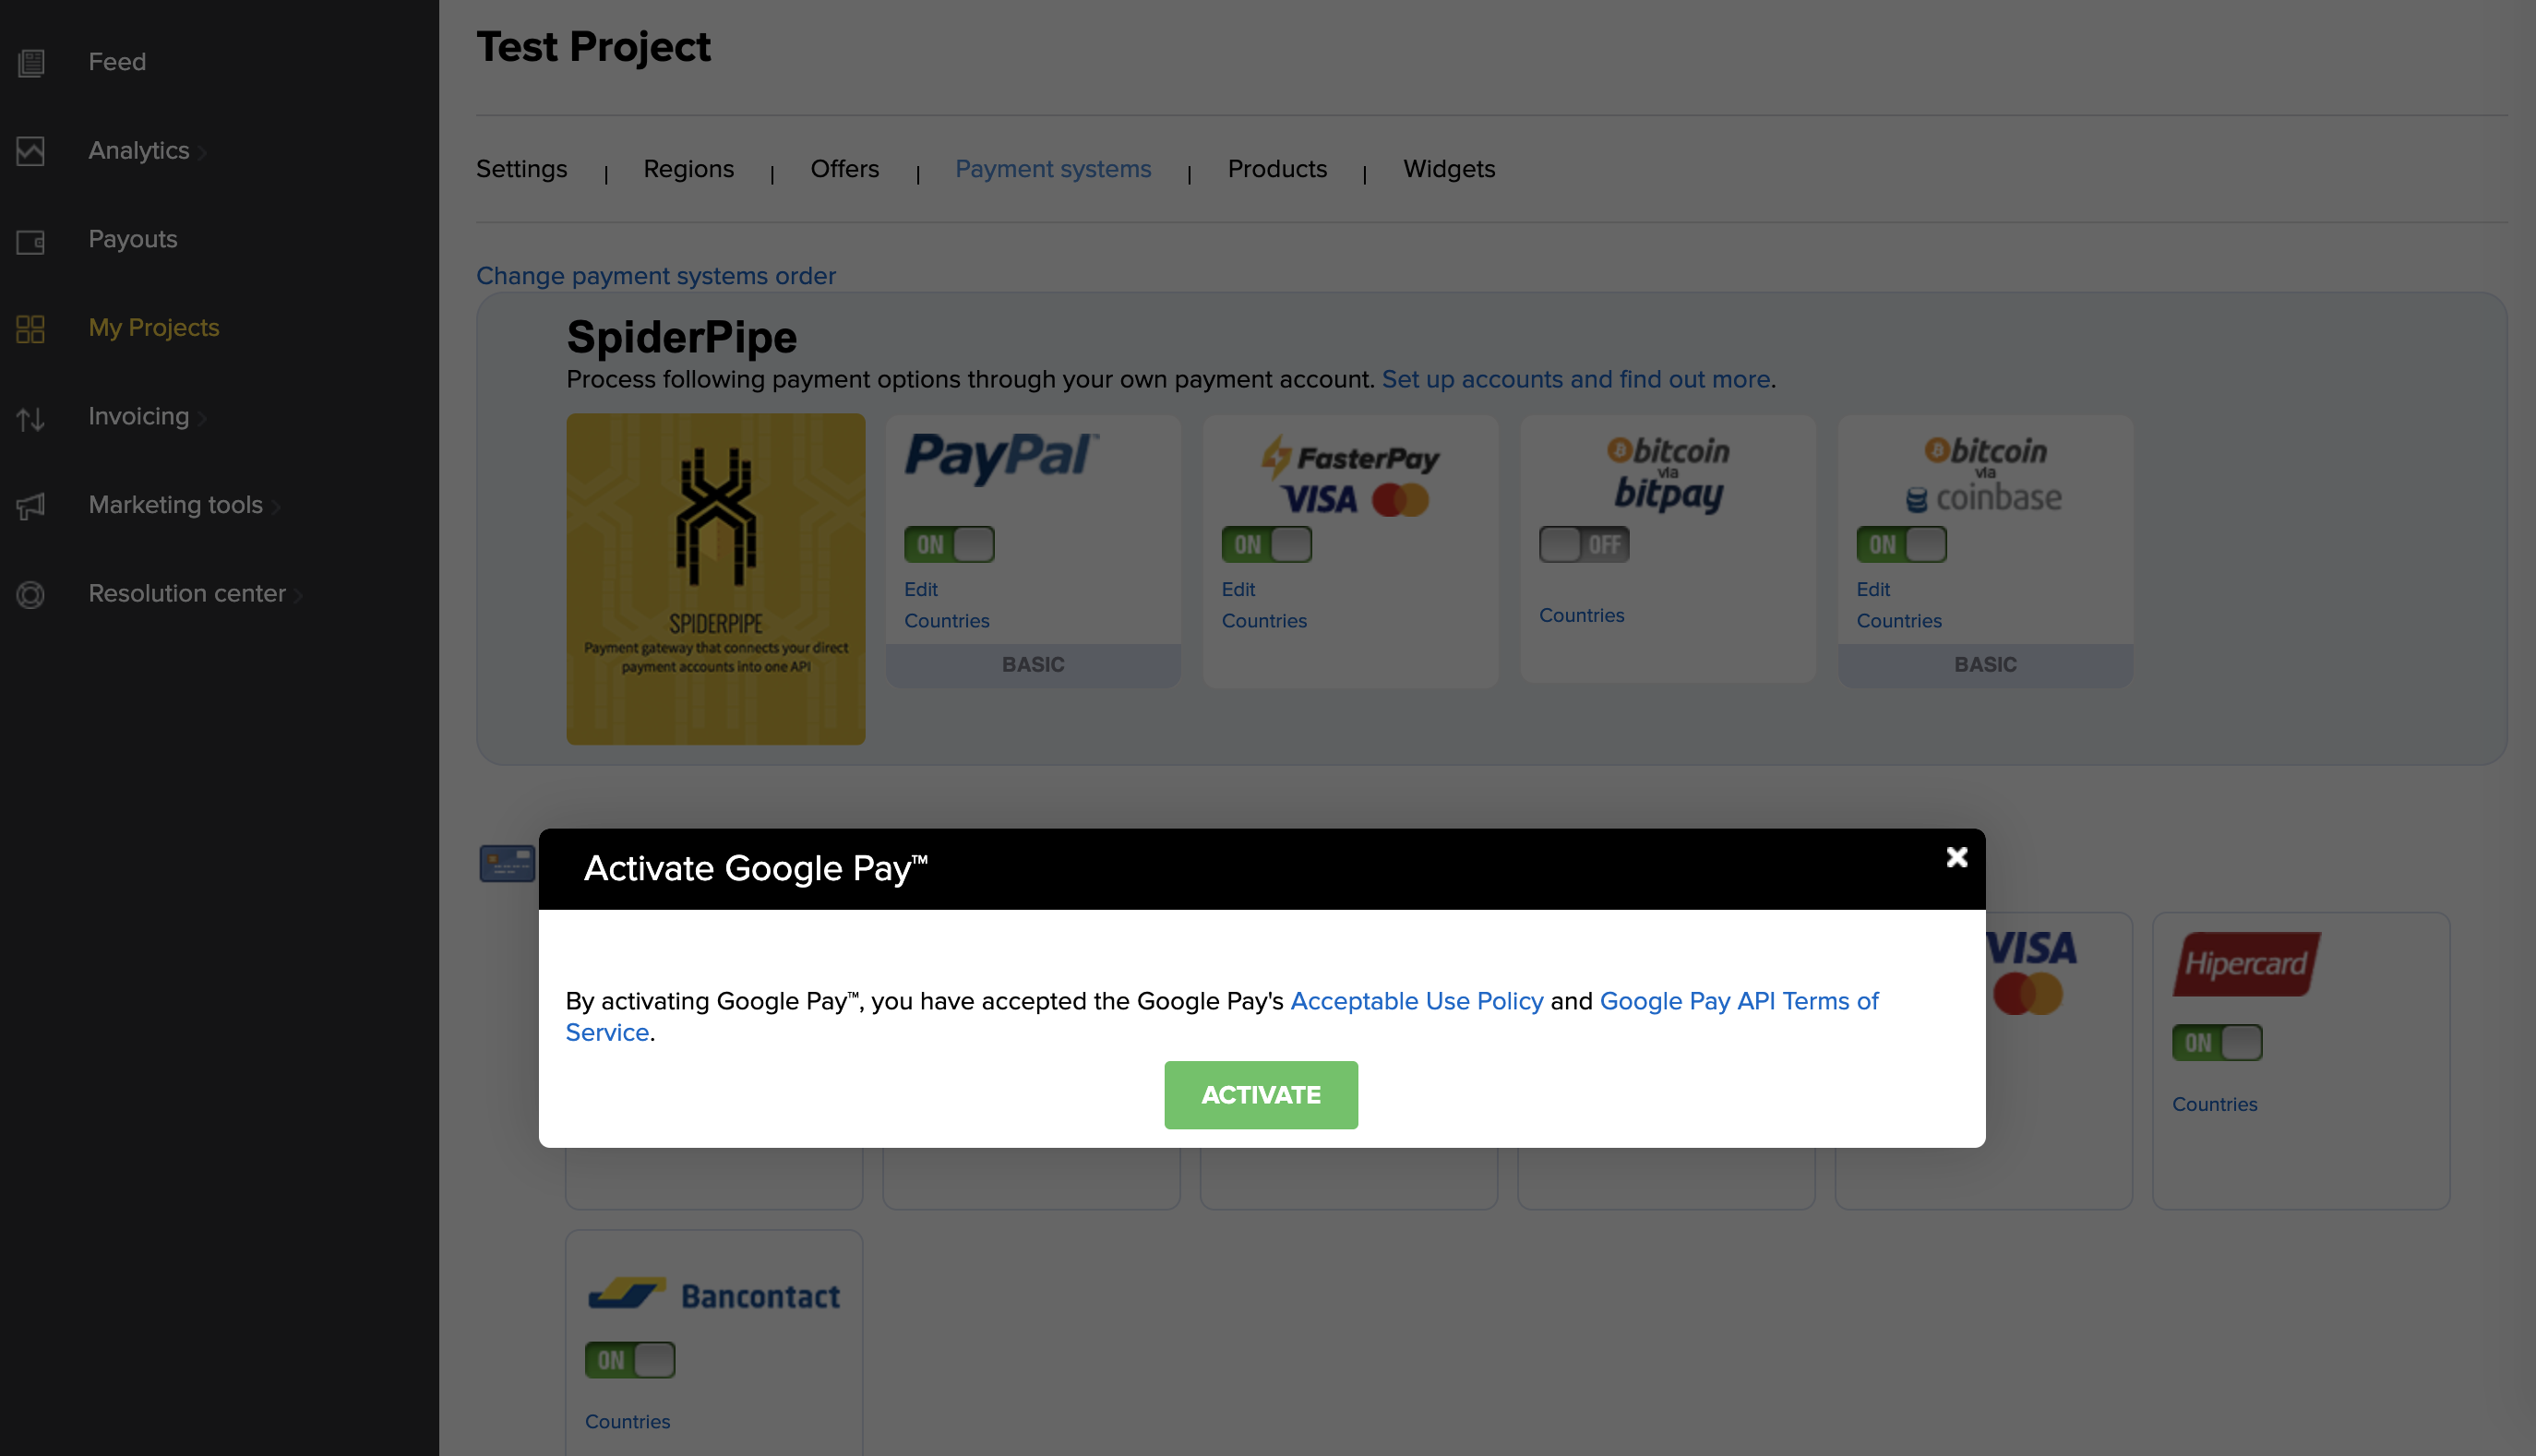
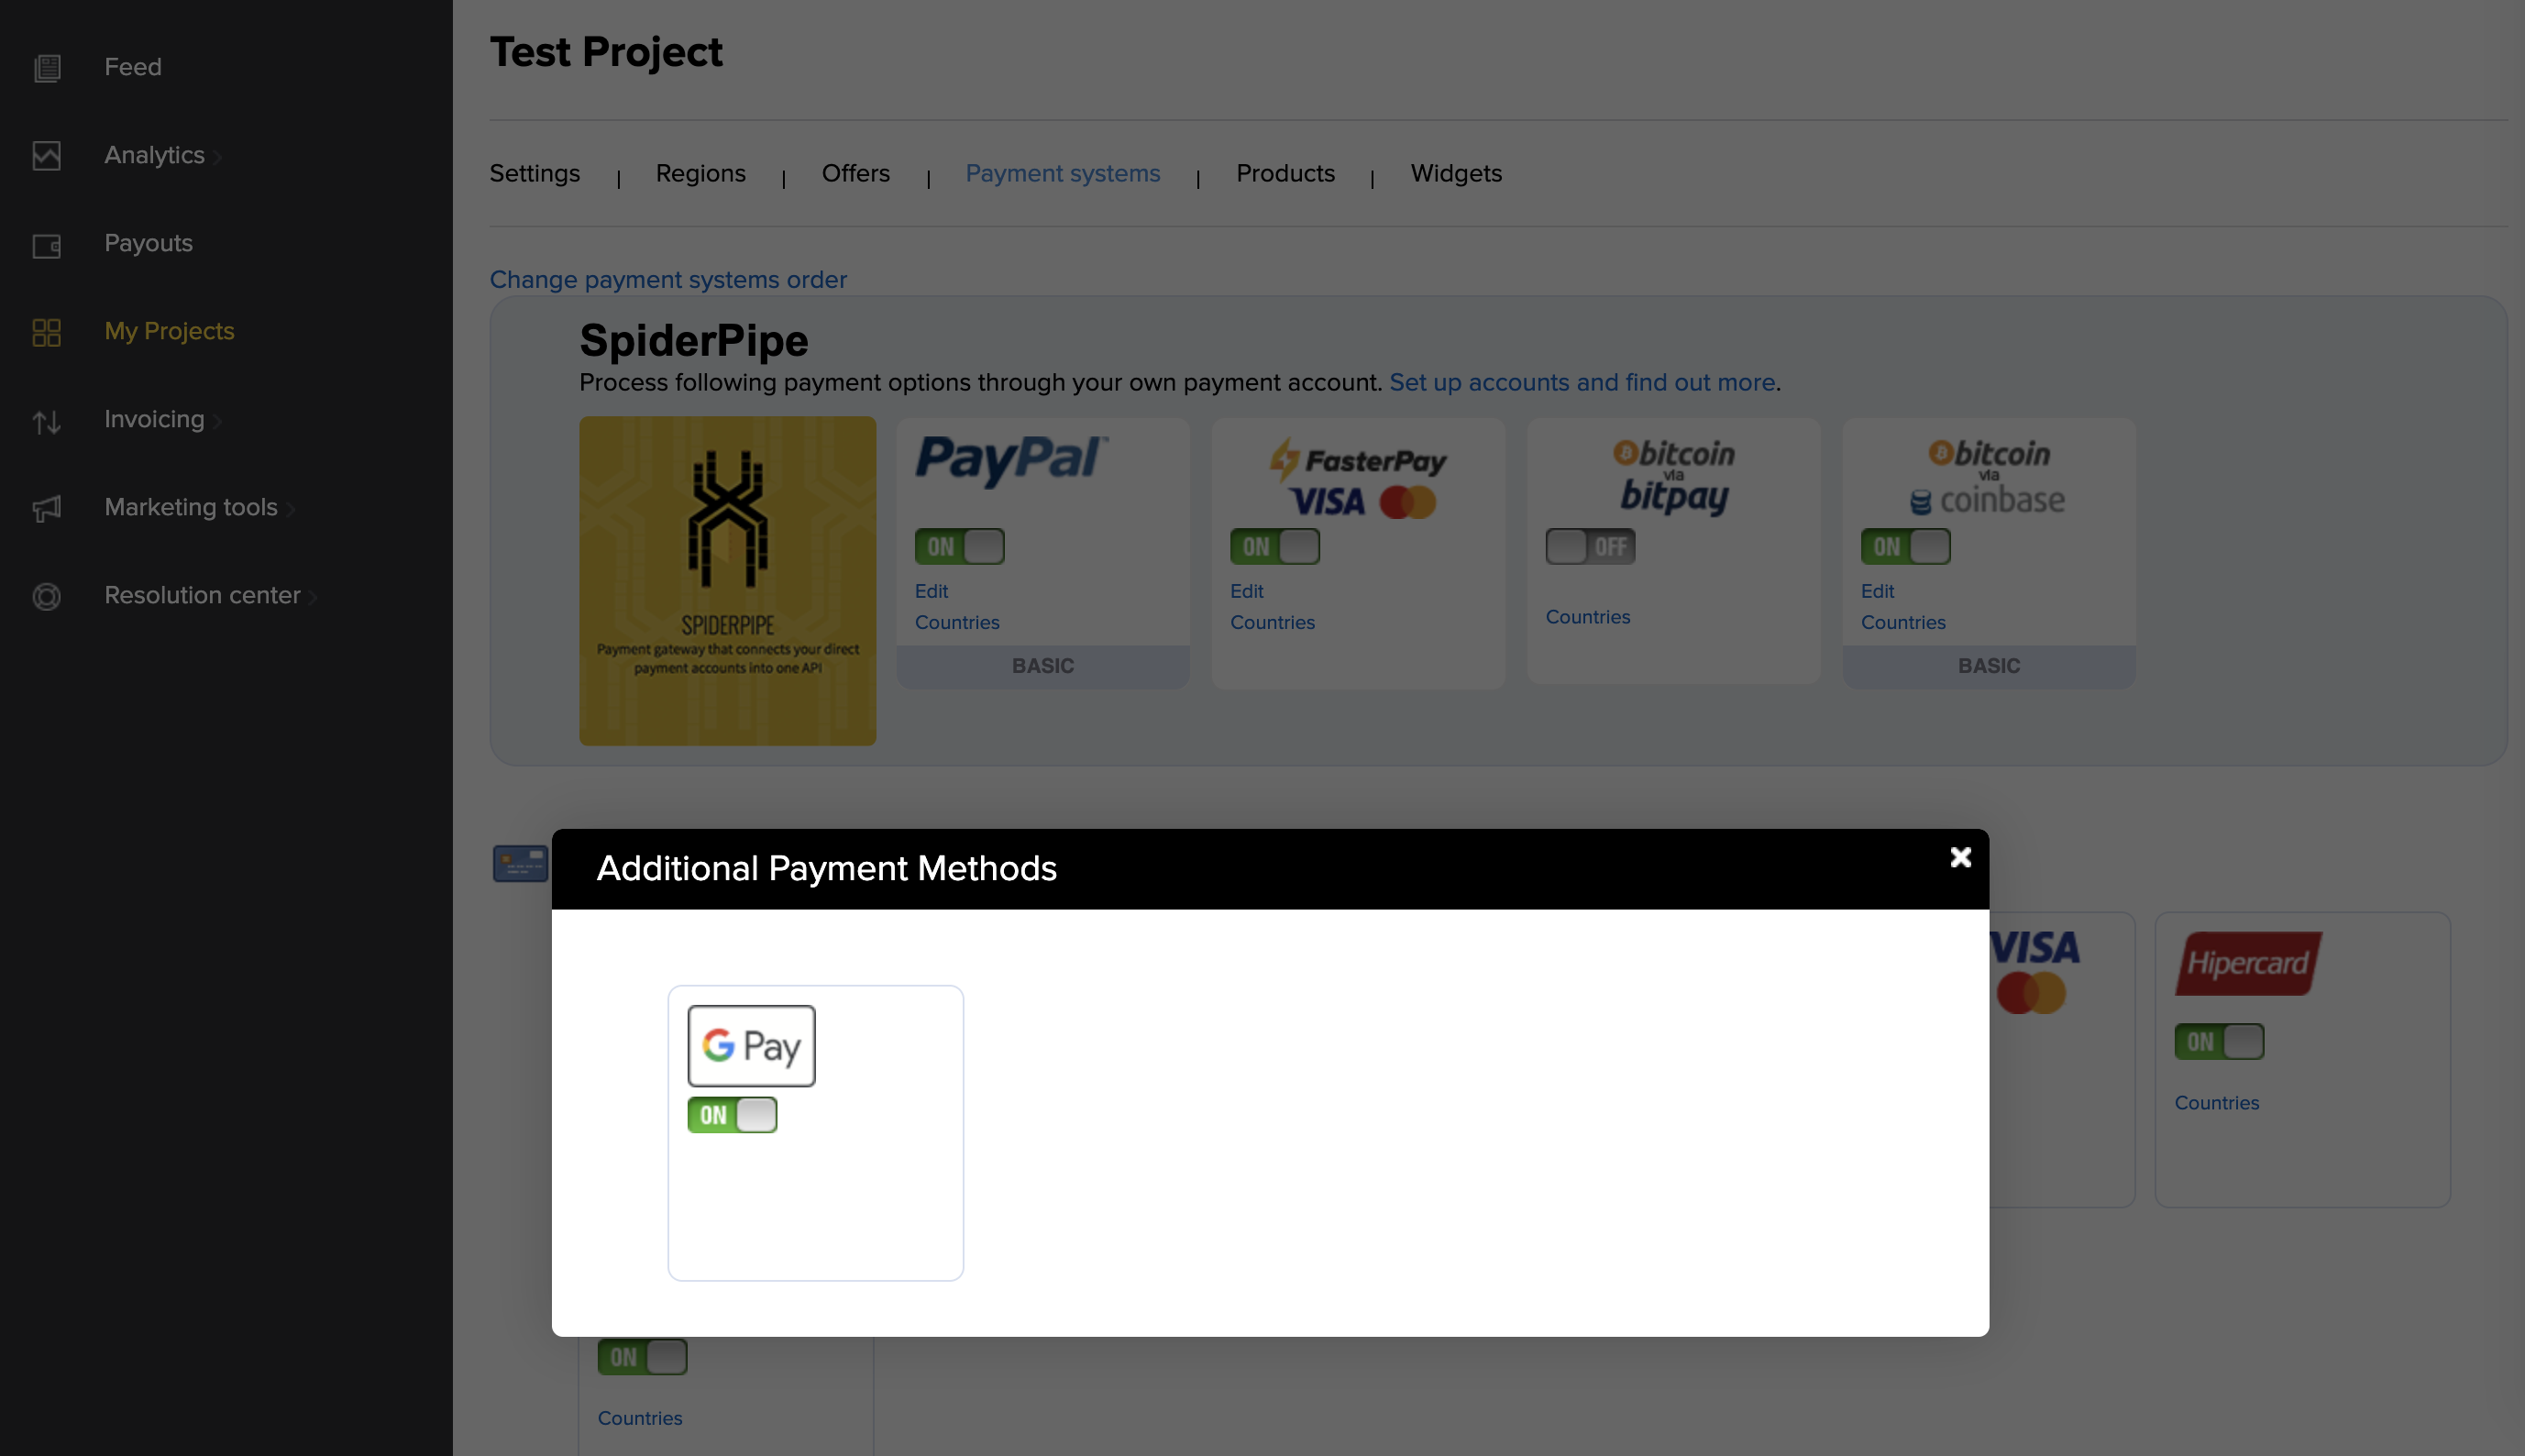
- Turn on Google Pay and choose “ACTIVATE”.
Create Form
Option 1: Widget
No further actions required.
Option 2: Merchant hosts Brick.js and uses default Brick form
Option 2.1: Using Paymentwall’s Google merchant ID
No further actions required.
Option 2.2: Using merchant’s Google merchant ID
-
Refer to Google’s documentation page for instructions on how to get your Google merchant ID
-
Add following param to Brick.js init options
google_pay: {
  iframe: false,
  merchant_id: '<merchant’s Google merchant ID>'
}
Example:
var brick = new Brick({
  public_key: '<merchant’s Brick public key>',
  amount: 9.99,
  currency: 'USD',
  container: 'payment-form-container',
  action: '<merchant’s charge action>',
  form: {
    merchant: 'Paymentwall',
    product: 'Gold Membership',
    pay_button: 'Pay',
    show_zip: true, // show zip code
    show_cardholder: true // show card holder name
  },
  google_pay: {
    iframe: false,
    merchant_id: '<merchant’s Google merchant ID>'
  }
});
Option 3: Merchant hosts Brick.js and uses custom form
- Add a <div> element where Google Pay button will be placed. This element must have an “id” attribute
Option 3.1: Using Paymentwall’s Google merchant ID
- Add following param to Brick.js init options
google_pay: {
  amount: 9.99,
  currency: 'USD',
  container_id: '<id of the element where Google Pay button will be placed>', // required only if id value is not "google-pay-container"
  onTokenized: function (response, paymentData) {
    $form.append($('input type="hidden" name="brick_token"/>').val(response.token));
    $form.append($('input type="hidden" name="brick_fingerprint"/>').val(Brick.getFingerprint()));

    $('#email').val(paymentData.email);
    $form.get(0).submit();
  }
}
Example:
var brick = new Brick({
  public_key: '<merchant’s Brick public key>',
  form: {
    formatter: true
  },
  google_pay: {
    amount: 9.99,
    currency: 'USD',
    container_id: '<id of the element where Google Pay button will be placed>', // required only if id value is not "google-pay-container"
    onTokenized: function (response, paymentData) {
      $form.append($('input type="hidden" name="brick_token"/>').val(response.token));
      $form.append($('input type="hidden" name="brick_fingerprint"/>').val(Brick.getFingerprint()));

      $('#email').val(paymentData.email);
      $form.get(0).submit();
    }
  }
});
Option 3.2: Using merchant’s Google merchant ID
- Add following param to Brick.js init options
google_pay: {
  iframe: false,
  merchant_id: '<merchant’s Google merchant ID>',
  amount: 9.99,
  currency: 'USD',
  container_id: '<id of the element where Google Pay button will be placed>', // required only if id value is not "google-pay-container"
  onTokenized: function (response, paymentData) {
    $form.append($('input type="hidden" name="brick_token"/>').val(response.token));
    $form.append($('input type="hidden" name="brick_fingerprint"/>').val(Brick.getFingerprint()));

    $('#email').val(paymentData.email);
    $form.get(0).submit();
  }
}
Example:
var brick = new Brick({
  public_key: '<merchant’s Brick public key>',
  form: {
    formatter: true
  },
  google_pay: {
    iframe: false,
    merchant_id: '<merchant’s Google merchant ID>',
    amount: 9.99,
    currency: 'USD',
    container_id: '<id of the element where Google Pay button will be placed>', // required only if id value is not "google-pay-container"
    onTokenized: function (response, paymentData) {
      $form.append($('input type="hidden" name="brick_token"/>').val(response.token));
      $form.append($('input type="hidden" name="brick_fingerprint"/>').val(Brick.getFingerprint()));

      $('#email').val(paymentData.email);
      $form.get(0).submit();
    }
  }
});
Option 4: Merchant implements own logic to get Google Pay token and sends it to Brick API to create charge
Refer to Google’s documentation for instructions to get Google Pay token
Charge
Option 1: Widget
No further actions required
Option 2 and 3: Merchant hosts Brick.js
Similar to regular Brick integration, except:
- Unlike regular credit cards payment flow, merchant’s server script must not require customer[first_name] or customer[last_name]
- If merchant uses default Brick form, there will be a parameter “brick_tokenization_method” whose value is “googlepay” sent to merchant’s charge endpoint
Option 4: Merchant implements own logic to get Google Pay token and sends it to Brick API to create charge
Similar to Brick.js integration, except:
- Instead of sending brick token, merchant’s script must send Google Pay token to Brick charge endpoint Example charge params:
<?php
$chargeInfo = array(
    'email' => $parameters['email'],
    'history[registration_date]' => '1489655092',
    'amount' => 9.99,
    'currency' => 'USD',
    'google_pay_token' => $parameters['google_pay_token'],
    'description' => 'Order #123'
);
?>